questions I've chosen
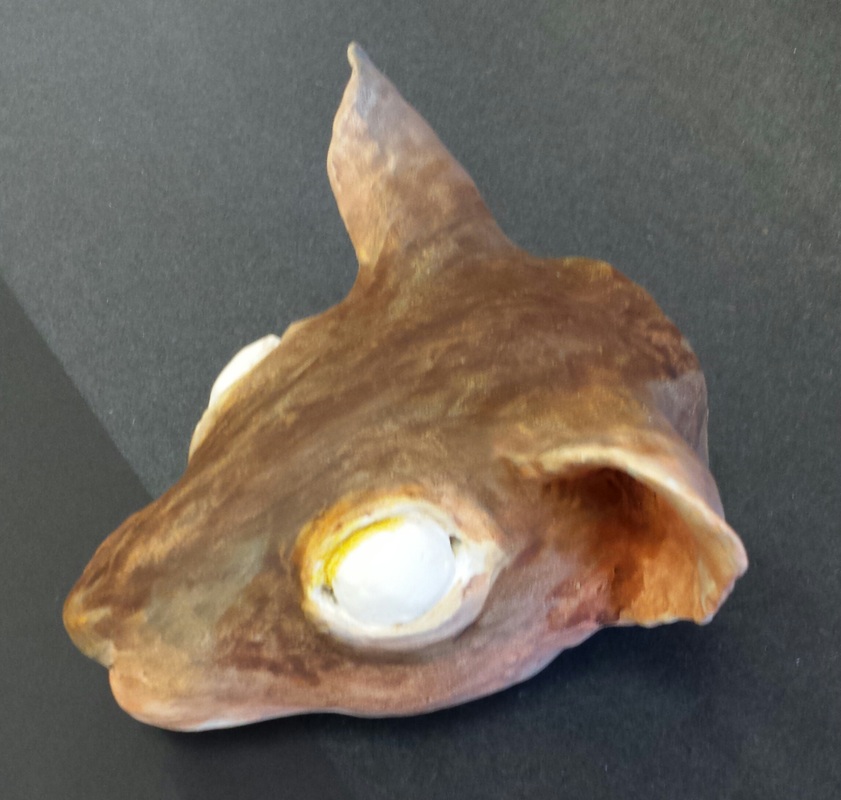
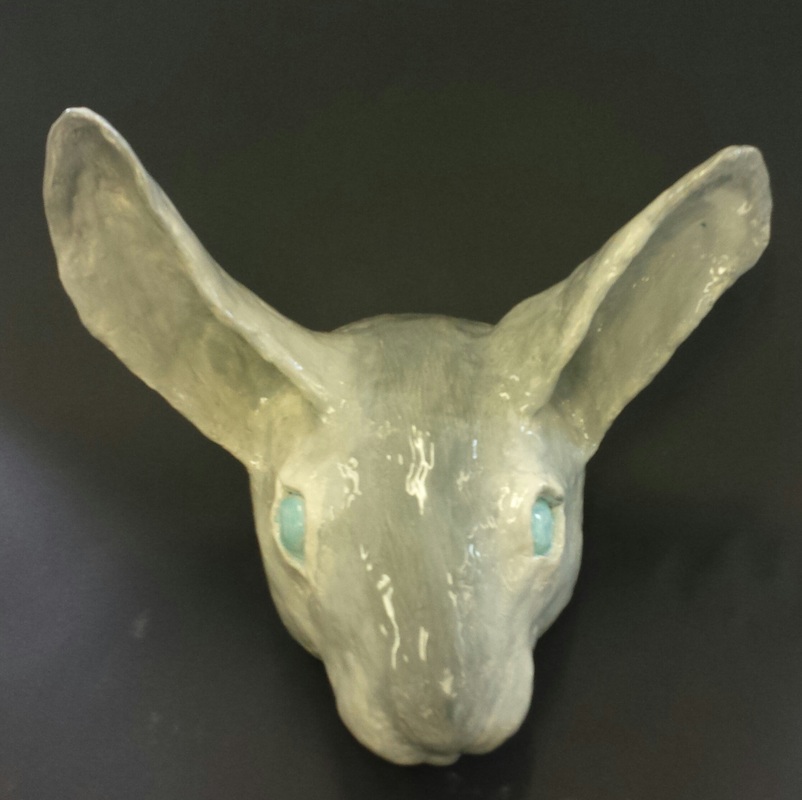
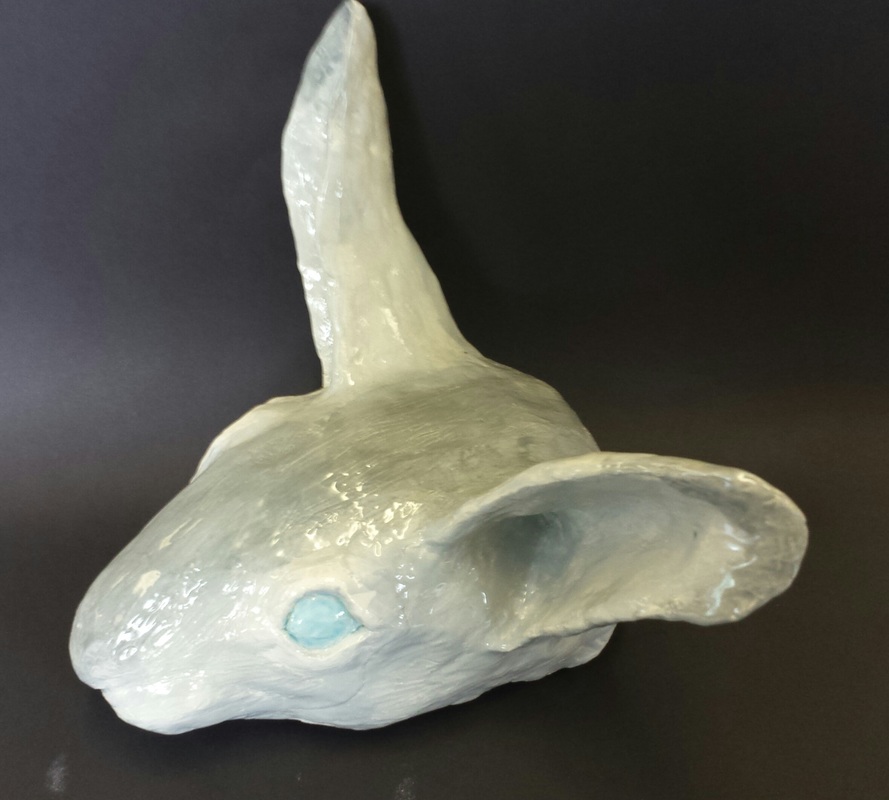
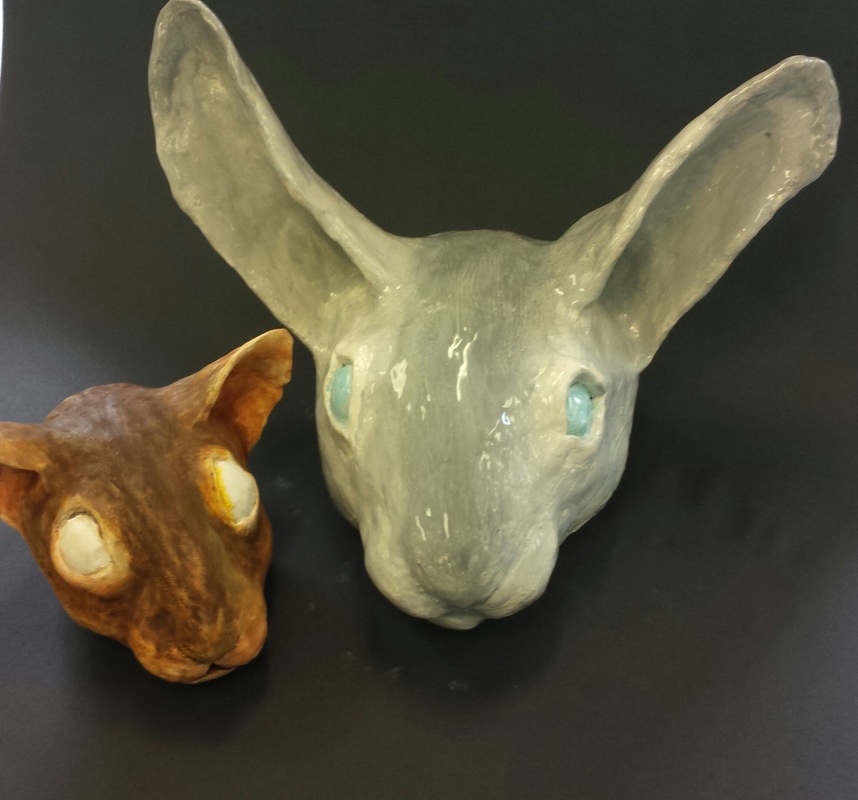
project where i grew the most I feel like I grew the most during the free project. When I started this project I was lost for a long time. Then I thought back to an earlier post that I did on the blog, with the person who made the cloth spiders. It was pretty cool, after all. I thought about how the shape of a light bulb looked like the thorax of a spider, and how to stick legs onto that. I would have done many more, with many different light bulbs (that would've been awesome), but time was limited by the time I finally stopped struggling over what I would make. This project turned out very fruitful for what I imagined I could do with items, and what I could do with free stuff. successful technique 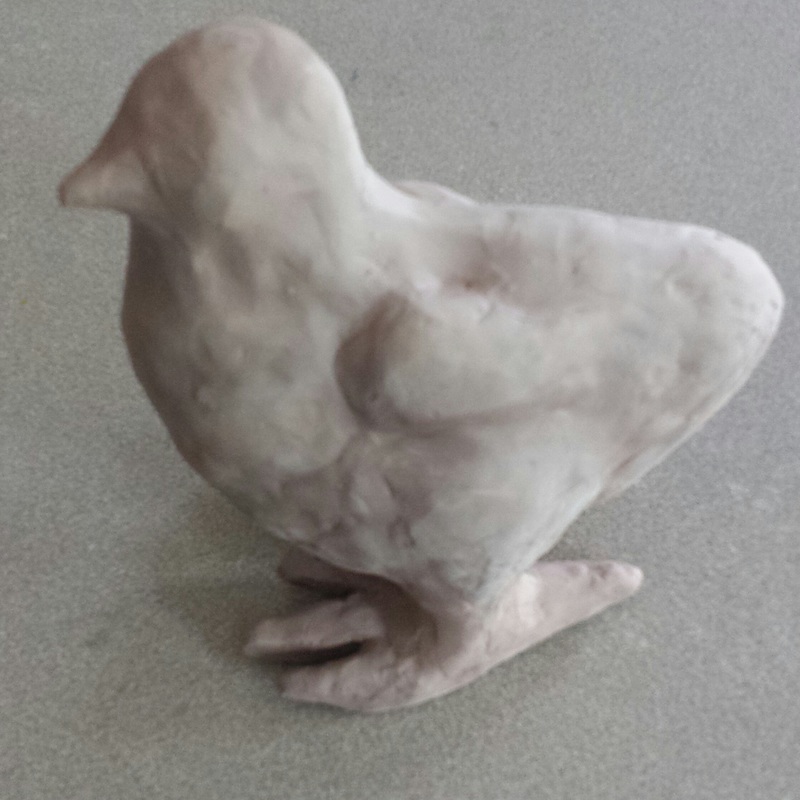 The technique I used to make these pieces was to make two pinch pots, score'n'slip, and then seal the pinch pots together to make what was a lemon shape for the first bird and a pear shape for the second bird. Then I slowly pieced on more clay to make bumps for the neck and the tail (they kind of looked like fruits at this point), and just to make everything fit better in general. The head was finished first for both of them; however since the brown one was standing, it never quite balanced due to the finicky business of trying to make the weight equal. More work was done on the wings throughout the whole procedure - bits and scraps here and there. Then the tails came on, and finishing touches on the wings. The first picture had absolutely amazing wings, but I didn't take a picture of it at the time. My regrets to that. This technique of making two pinch pots, slapping them together, then piecing on all the little bits is a fantastic technique because you get to build from the base up, and it makes everything easier. Beneficial sketchbook art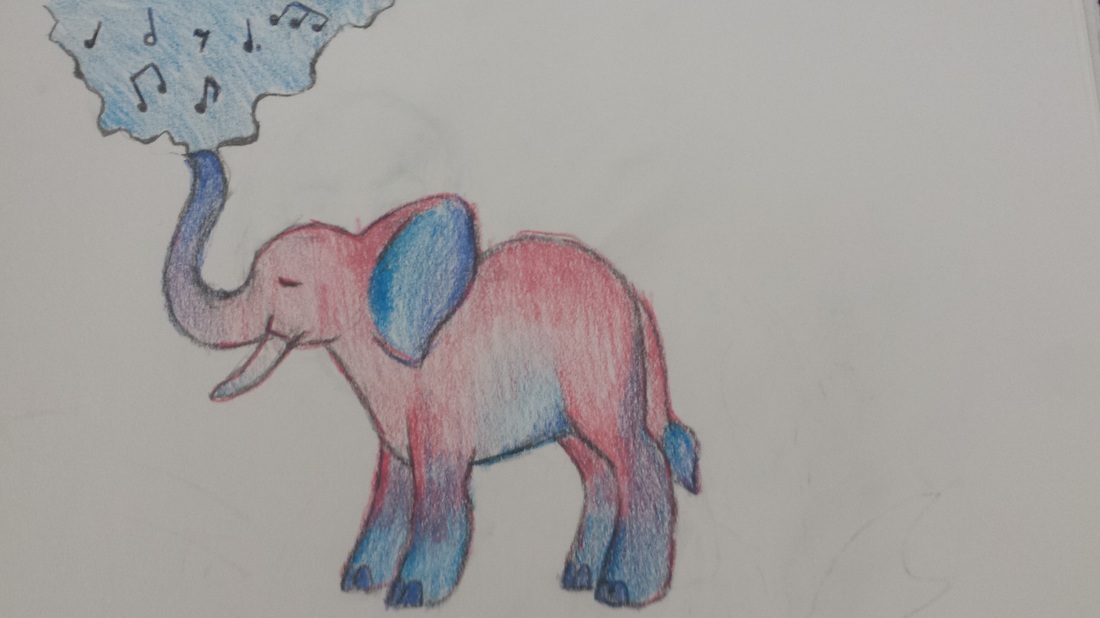 This was for illustration friday. The word was "Noise". I wasn't quite sure what to do at first, but it had to be something noisy. What's noisy? Elephants are noisy. That's what I took and ran with. I drew a little elephant and gave it funky, noisy colors to make it interesting. I picked this because this was one of the few ones that were colored, and maybe one of the ones that I spent the most time on. It might not be drawn the best, but it's certainly the most appealing to the eyes, and that's why I chose it. do over If I could pick any one project to do over, it would definitely be my pit firing piece. While re-doing this, I'm not sure how differently I'd do it - I would ask Mrs. Sudkamp how to prevent air pockets from getting into the piece (I've never had a project shatter before..) but do most of it the same. The gigantic air bubble in the center of the piece, obviously, did not shatter, but the head and the tail and everything else on the piece flew off. It was looking amazing and super epic until one fateful day, when I was shown what the deal was. Kablooey! I would only re-do this to fix the shattering, and to smooth out some of the features that maybe weren't as correct as they could have been. successful project The theme for this project was "animal head". The class was shown an awesome video about this lady who made really cool animal sculptures - but not all of hers were just heads. She had some full-body creatures, too. It was amazing.
I found that, when creating these animal heads, the best technique was to make a pinch pot semicircle and then add everything on. Sure, they aren't very symmetrical in some aspects, but they look amazing from other angles. This technique is successful because you start off with the very basic, basic structure of a skull. Then you could take it whatever way, but I added some clay onto the pinch pot for a muzzle as my first step, and shaped the head - added all the pieces on that I'd need for a basic head. Then came the eyes and ears, and finally the muzzle (the little rounded parts where the whiskers typically are, I mean). I cut off the eyes of the squirrel (left in the picture) three times. I cut off the eyes on the rabbit twice or thrice as well. They still didn't really line up in the end! That's fine, though - they look amazing.
0 Comments
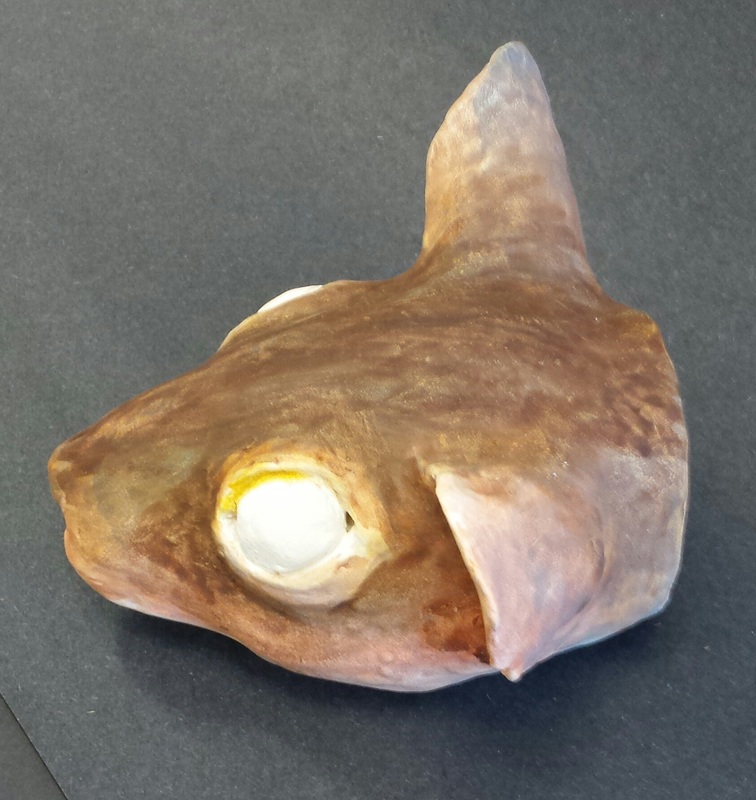
For this plaster project, I wanted to make a shape like this out of plaster. 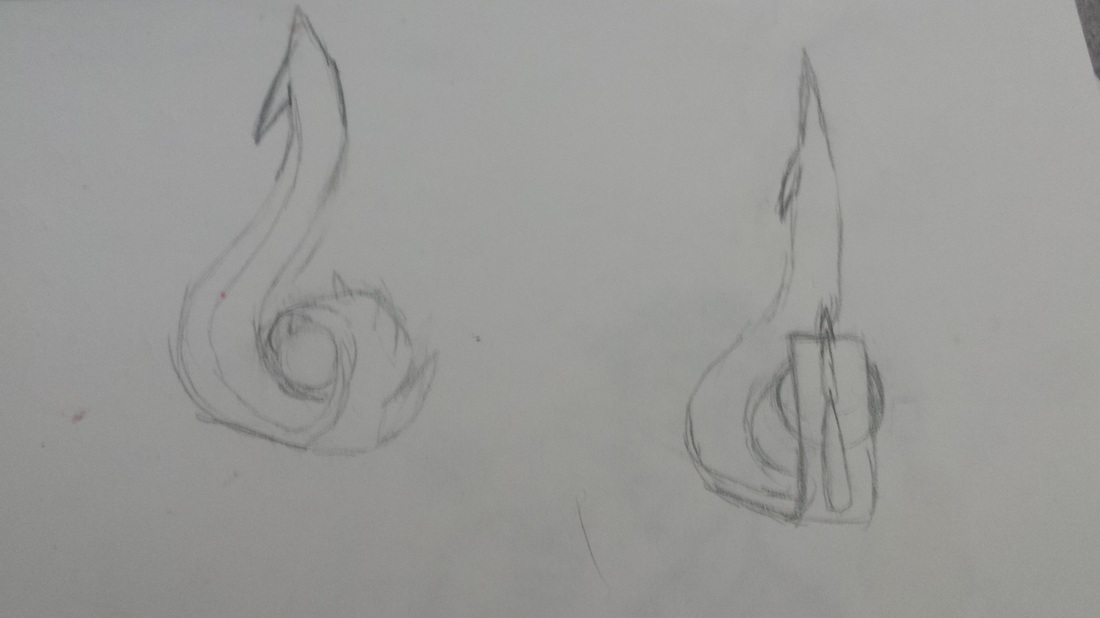 I chose a milk carton as the plaster mold shape, because nothing else was tall enough. Plenty of things were wide enough to make this shape, but nothing was tall enough. 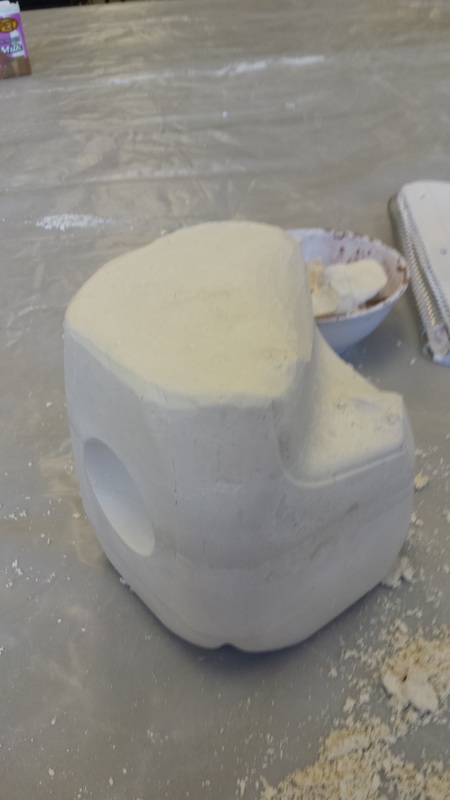 Here's what the plaster looked like after it was taken out of the mold, and some of it shaved off. Looks just like spoiled milk/milk suspended in nothing, right? Cool. 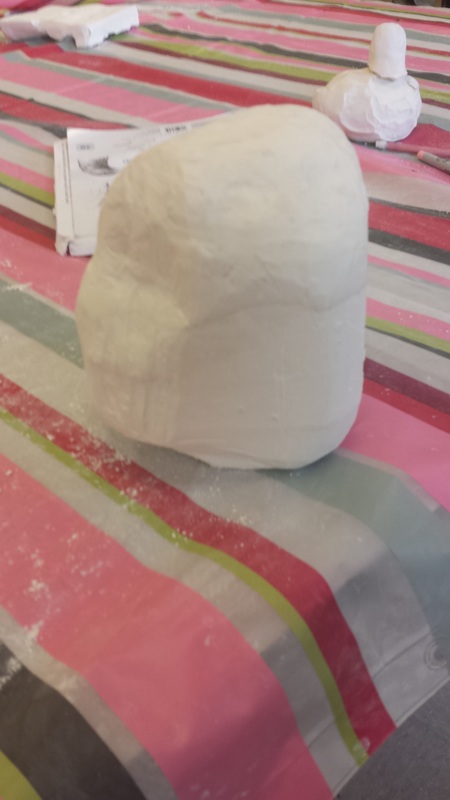 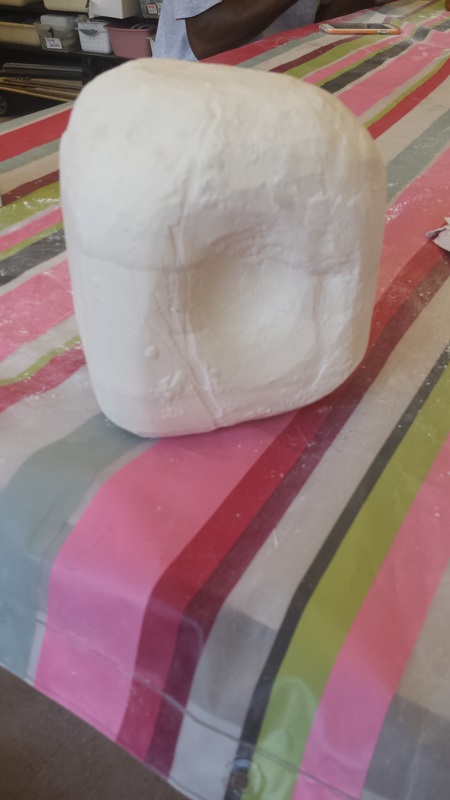 This is further on after more has been shaved. It sure is taking a while. My hand was starting to shake due to how furiously I was scraping at it. Then I resorted to stabbing my frustrations out on the piece, and took a break after that. 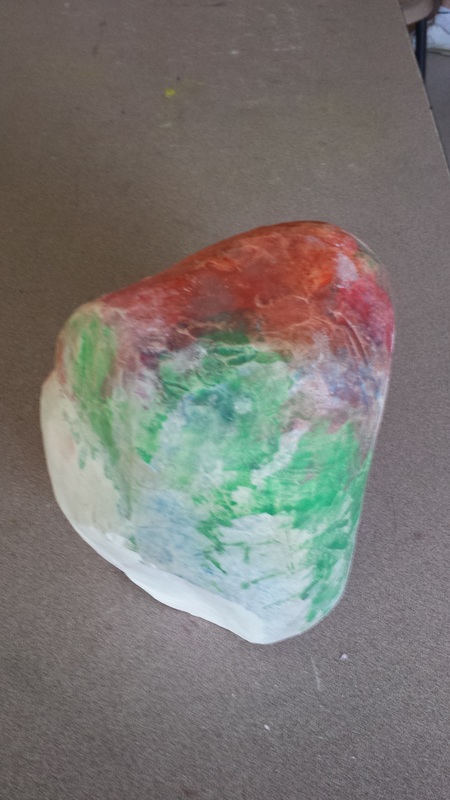 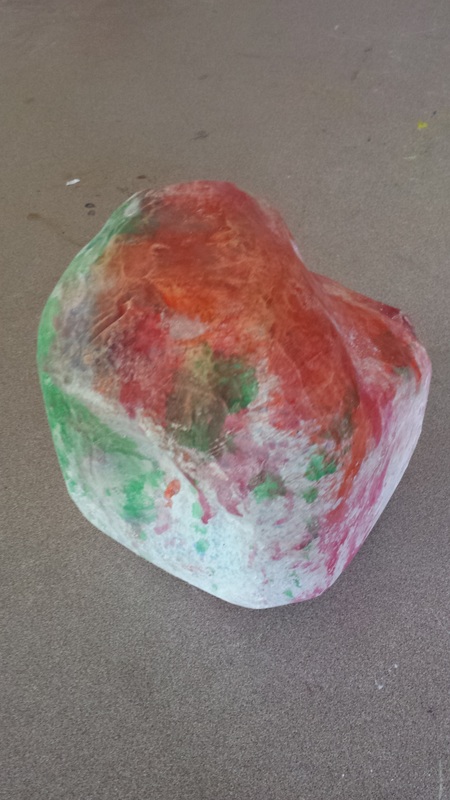 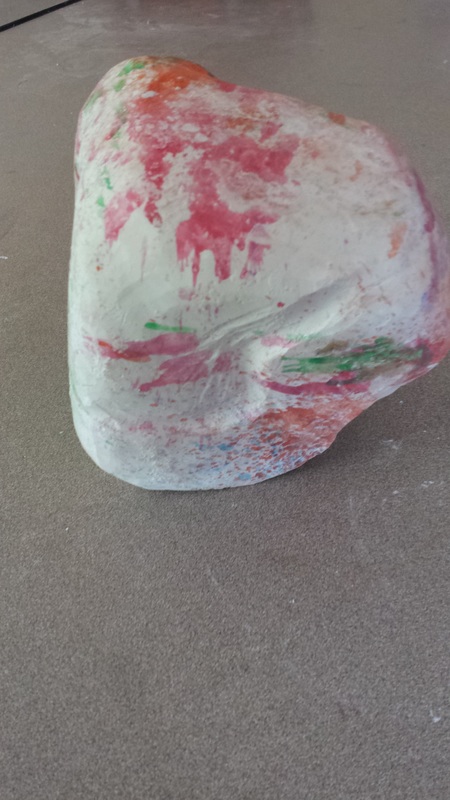 It's been spritzed with mixtures of "I don't know what, but it's colorful" thanks to Mrs. Sudkamp and a kid in a different class. Apparently it's watercolor. The piece isn't finished yet, but I swear I'll finish it eventually - next year, hopefully. I hope I have time to work on it.
I don't have a picture for this quite yet, sorry Mrs. Sudkamp(-Engel)! I'll get it on the blog by the 9th, hopefully. It's at my mother's house right now. Here's a filler picture of what it might have looked like, except more round than this. 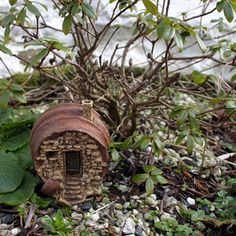 I started out with thinking about making a wire base and putting leaves and sticks on that. That didn't really work, so I changed the base into a clay shape. But by the time it was fired (and broke a little), the wire that I had planned to use for the project seemed to have disappeared. Then I decided on just using some "fuzzy sticks" as they were called, or pipe cleaners, to make the roof shape. It's all green. I was spending a lot of time making the pit firing pieces (one of which unfortunately broke) so this was a little rushed by the end. The picture will be below when updated
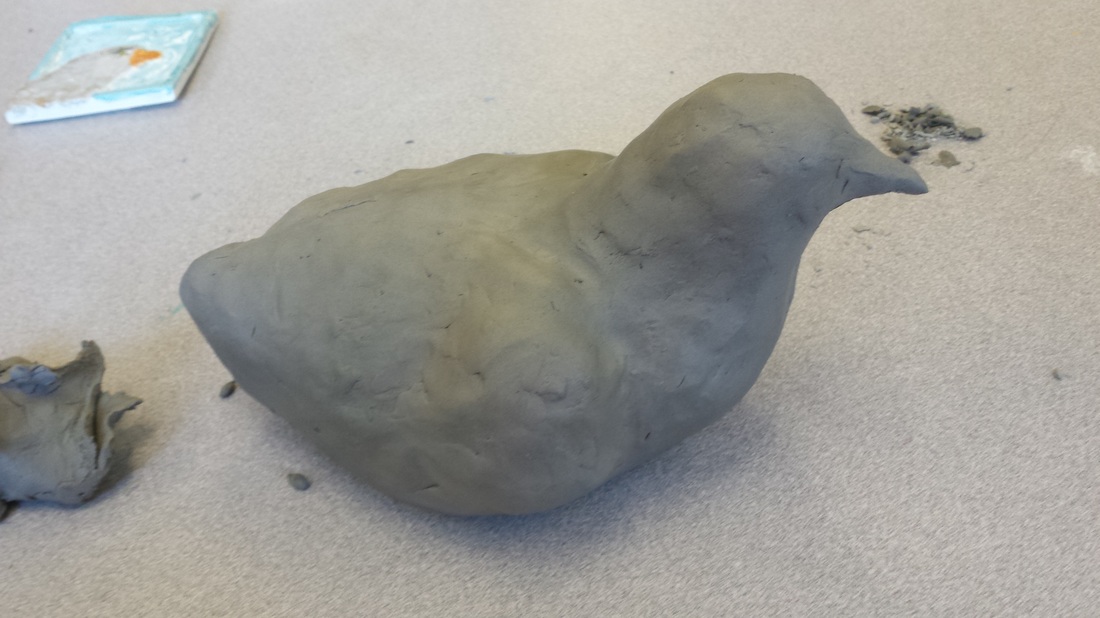
I had a fun time with this piece, and it was looking very good. It is supposed to be a ringneck dove, or just a dove. 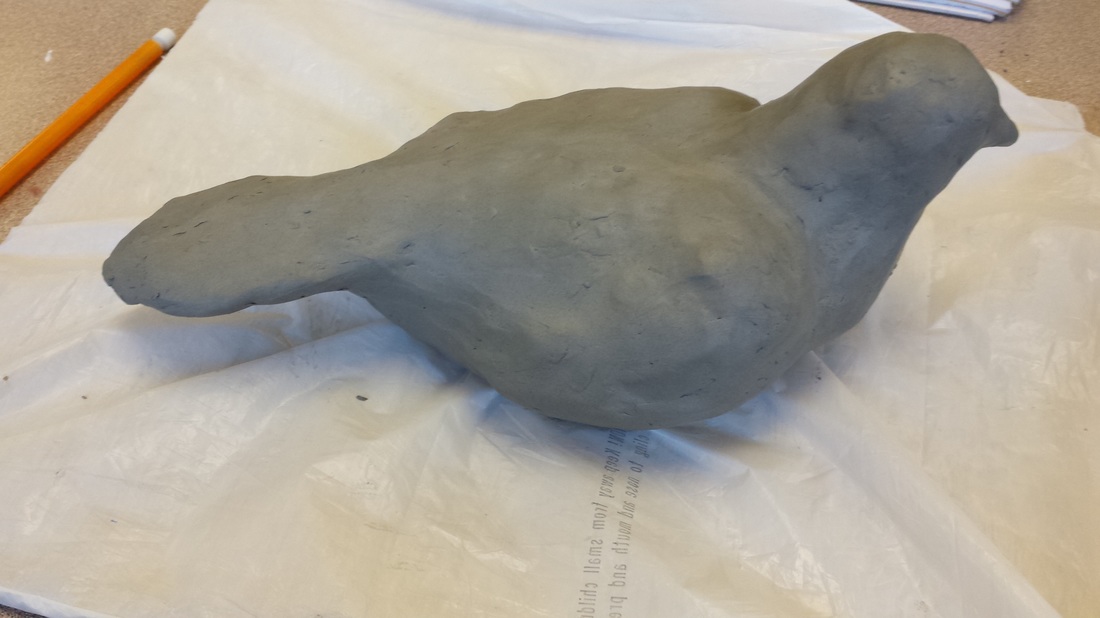 At this point, it has the tail, head and the beginnings of the wings. Sadly, I didn't take another picture of how it looked before it was fired. Trust me, though. It looked awesome.  Here's the final product. Sad, right? It shattered. 
Pit firing. The original method for "baking" clay. It dates back to nearly 30,000 years ago. Typically done in a hole or pit in the ground, the pots are placed in and burned. 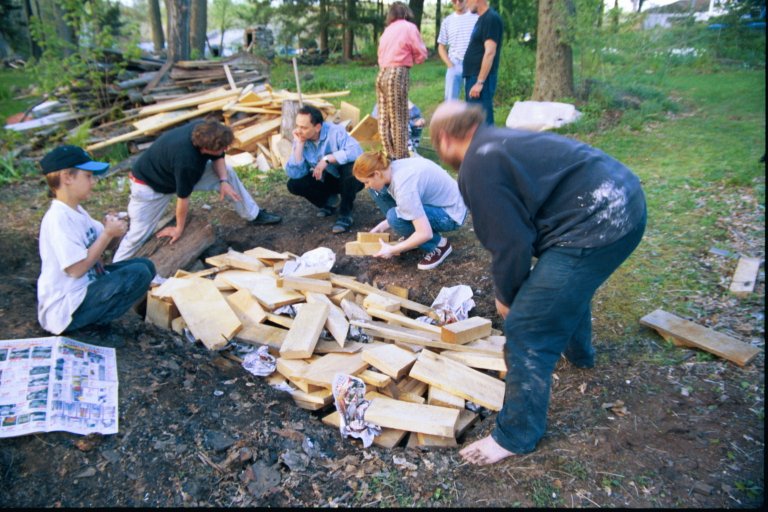 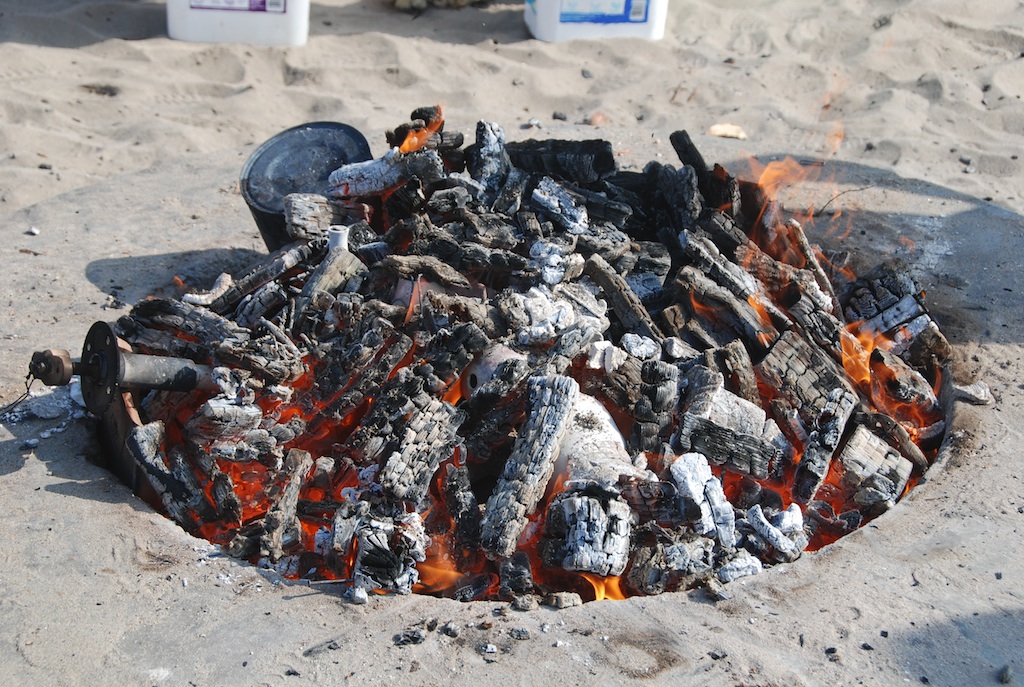 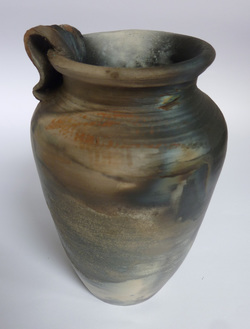 SAGGARSA saggar is a boxlike container used in the firing of pottery to protect ware in kilns. They are used to safeguard ware from open flames, smoke, gases and kiln debris. They are typically ceramics. However, there are foil and paper saggars, which are made of foil and paper (respectively). 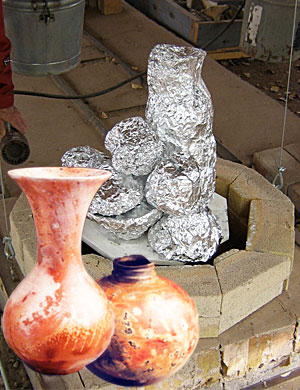 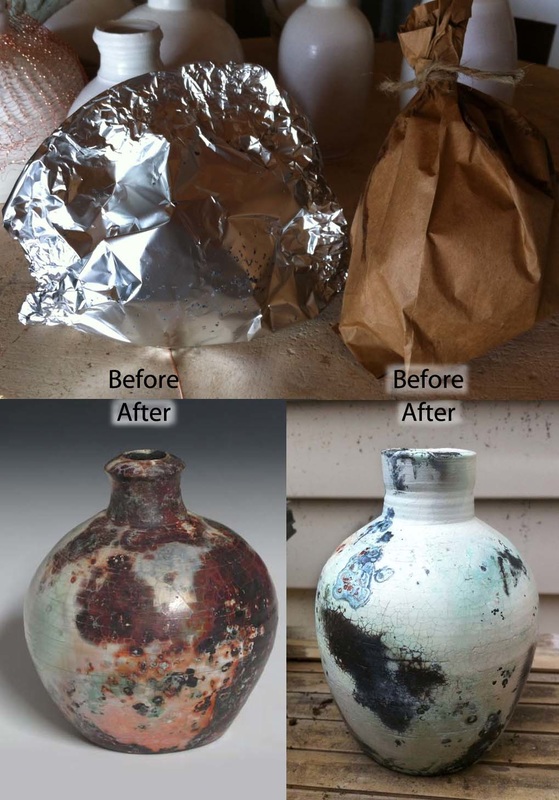 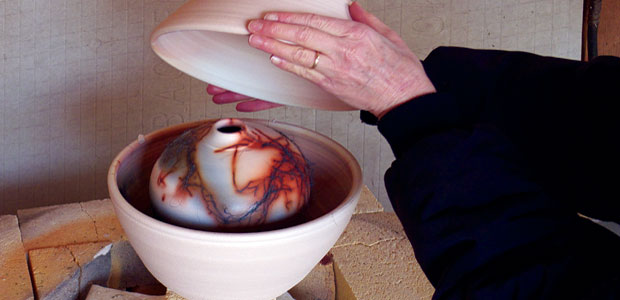 Pinterest Board for Free Project HERE 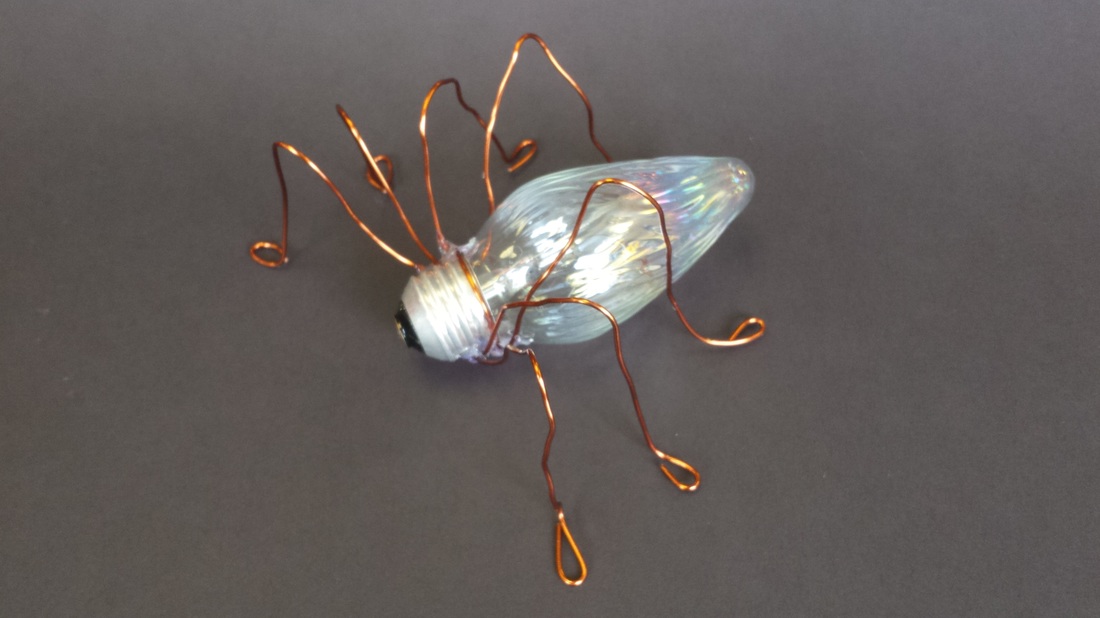 I was looking up Free Projects- art stuff made out of free stuff, when I saw some cool looking spiders. They were lit up, one red, one green and one blue spider - made with colored light bulbs and wire. Super cool, right? It looked like the artist used no glue, just wire, by wrapping each leg around the middle. There also seems to be a little battery stuck on the light bulbs, which is probably the reason they are lit up. Because this looked like a great & awesome project, I decided to attempt a "light bug" as well. The light bulbs I used were broken and cannot light up. I'm not sure if I'd want to try and light them up, even if they could, because of the wire wrapped around it. The creator I based my work off of didn't appear to use any hot glue for the legs or anything else. This proved too difficult for me, as I had not enough wire to wrap each leg around the thorax. This means that I had to go with the hot glue gun and glue absolutely everything. I cut each leg out of wire with wire cutters, bent the legs into shape, then glued them on.  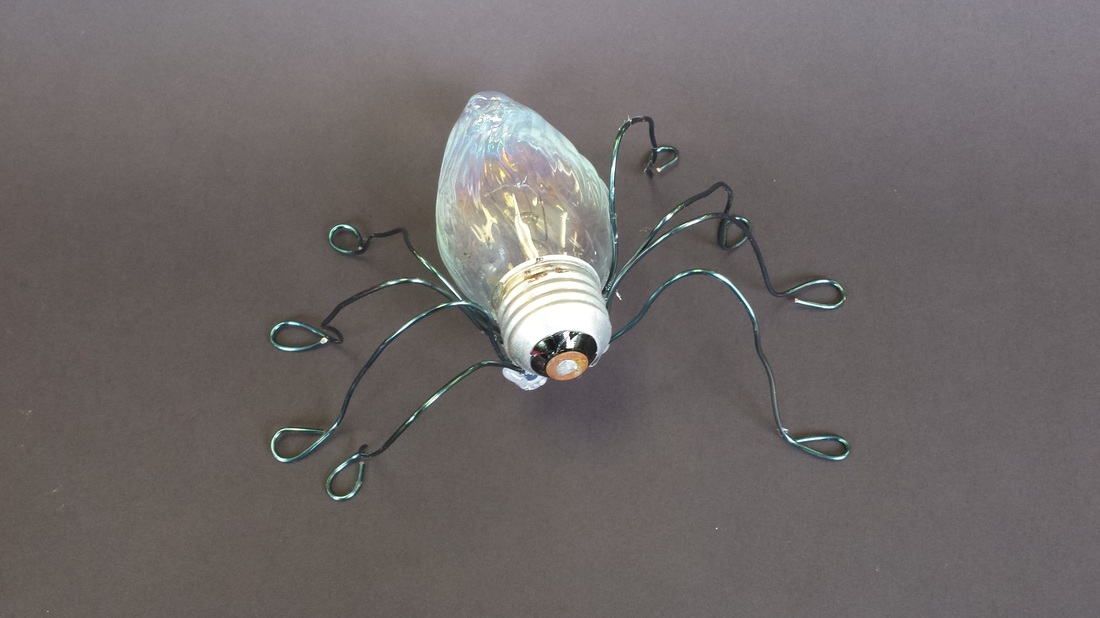 This project was very entertaining and interesting to see, everyone had different ideas and different materials. When you get to see other people making art, it is always fun. This project was definitely a success. It was not hard to make all the legs, but definitely a bother. The legs could have been better but this way it gives off a good effect, the little messy appearance. It is somewhat realistic  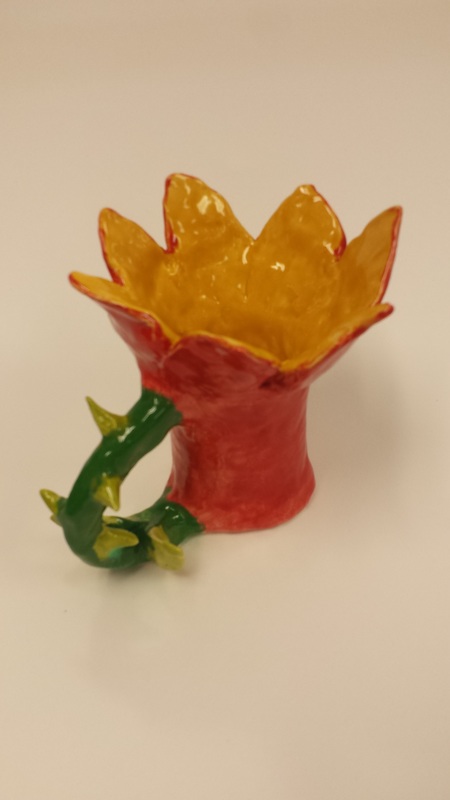 Pinterest board for vessel project: here 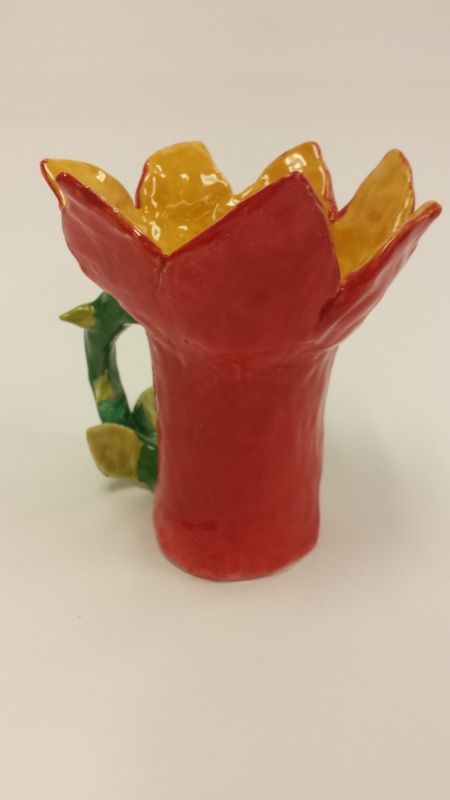 To make my vessel, I took a slab of clay and rolled it out using the slab roller. Then, out of the flat clay, I cut a rectangle out. The rectangle was made into a cylindrical shape. A small circle was cut out of the flat clay as well and then Score n' Slip'd to the bottom of the cylinder. The handle wa smade out of a small piece of clay, slightly rectangular in shape, which was bent to provide a curve. The petals were added on, along with the thorns and leaves. After this was fired, then it was glazed, providing what there is now  Also, I made a small bowl-like thing. 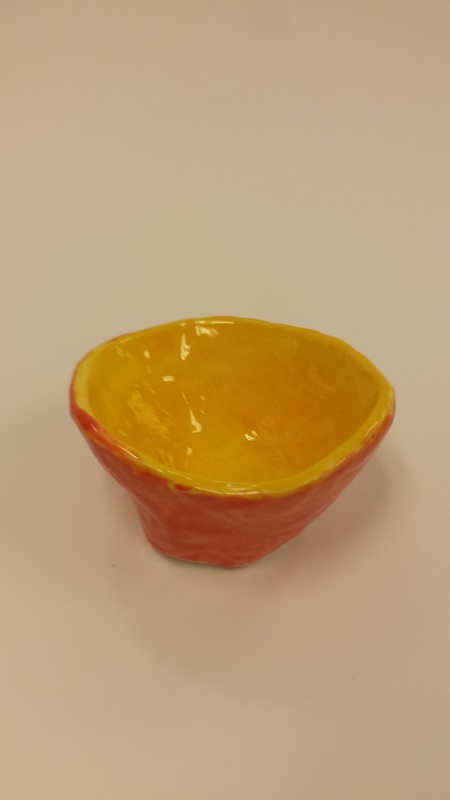 This was a fun project to do, and fairly simple.. Though it did take a while. It was hard to come up with an idea for what to do, and I'm not sure that I would want to try and do this again.. Then again, it might be fun. I think the red and yellow contrasted enough (while looking good together) to be nice colors together.
WE Made animal head sculptures in sculpture class. They were fun to make. I made a squirrel and a rabbit head.
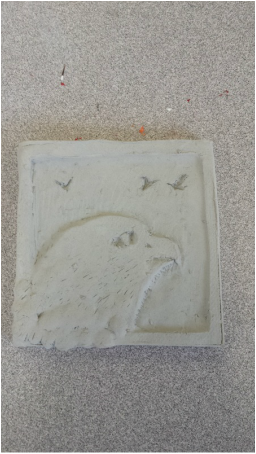
I'm not sure why the text is in all caps. ANyway, in this unit we focused on relief sculptures. |

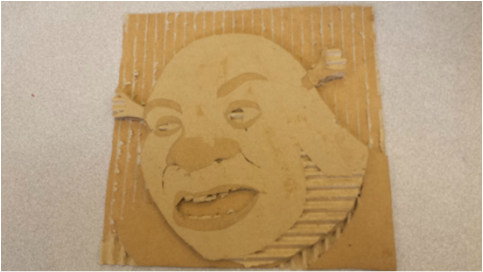 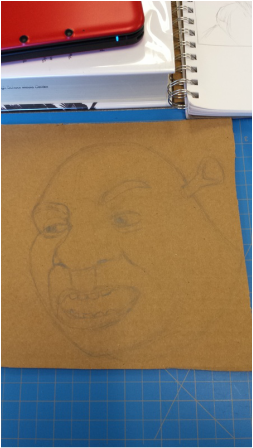 After cutting out Shrek's face, I hot-glued him to another piece of cardboard, which had been cut out to resemble Shrek's body. 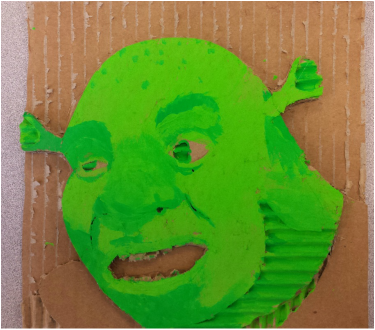 |
After all the pieces were stuck together, then came the acrylic paint. A few mishaps happened, along with the green paint having troubles getting to a different shade of green.
The cardboard mini-lesson was definitely the hardest. At first, I didn't realize that half of the very top layer could be peeled off to reveal a lighter lower half, so most of the teeth are small and far back. It takes a lot of precision to make a good cardboard relief. The way I used the different layers doesn't send out the right feeling of depth and perspective in all places.
The easiest mini-lesson was the mini-tile. It was simple and easy to make. It took a day to cut out..
Final Relief
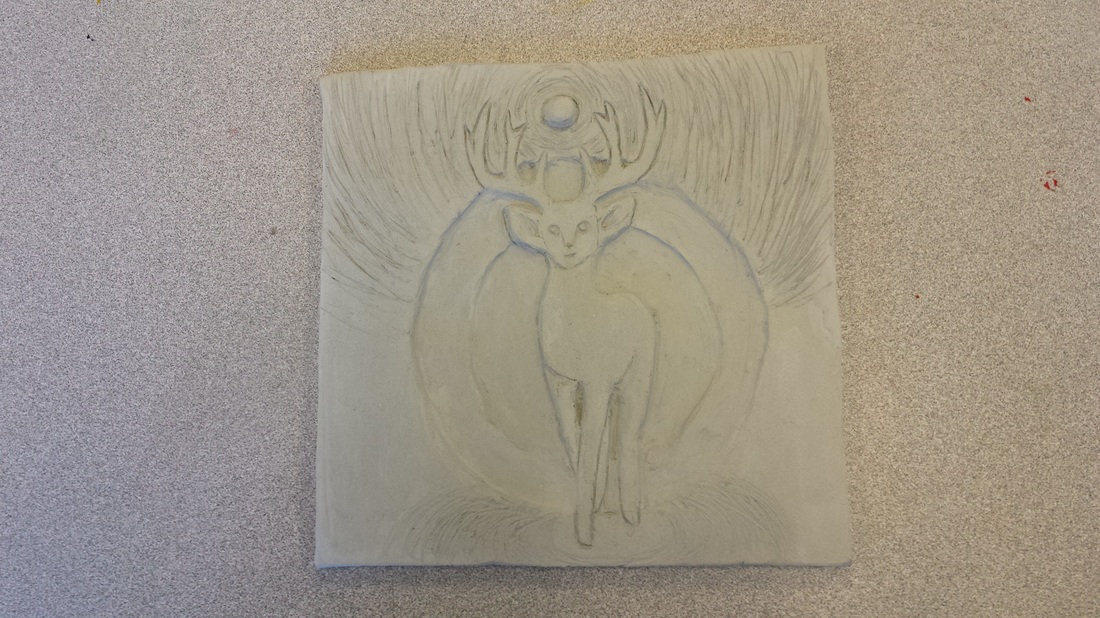
For my final relief sculpture, I cut out a deer with the face of a humanoid. This was definitely fun to make. It hasn't gone into the kiln yet, though.
I Create Original Art
I thought it would be cool to literally combine "human" and "nature", to get a mix that seems unnatural. The face might not be clearly human, but it is supposed to be. The bulls-eye shape in the back creates an appearance of depth, as if the deer is stepping out. It's feet create ripples when it walks. The deer being is holding a world in it's antlers. A deer god, perhaps. Holding a planet which contains many other deer.
Earlier on in the semester I'd seen someone make a very cool drawing of a deer, so that influenced me. I used the pose from an actual deer, hoping for a "graceful" look.
I Solve Problems
I had drawn a very good sketch, but when I attempted to trace the sketch onto the clay, the clay was too wet and it just stuck to the trace paper. The outcome of this was that there wasn't much of the sketch outline transferred to the clay. In the end, I just drew it onto the clay from scratch. This was good, because the sketch on paper had very thin antlers, and that would have been a pain to carve out without ruining it in the process. The background was exceedingly plain after the bulls-eye was cut out. Then I realized that "ripples" would be a nice effect, possibly showing the power of this deer god. Floating deer god, holding a planet of many other deer.

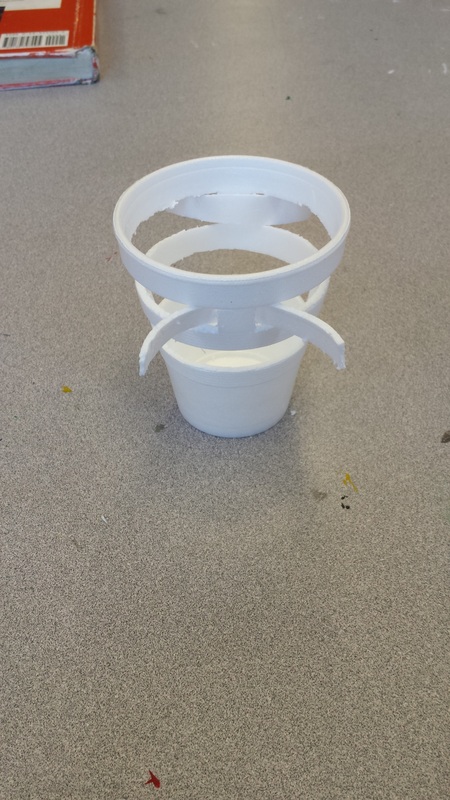
With styrofoam cups and X-acto knives, the Sculpture class made some Styrogami.
The first cup I made is on the left, and the second is on the right.
I made my first cup the way I did because there was a pretty cool pattern that I thought I'd try to use in my own design. It ultimately didn't work and the cup fell apart. Not to mention the holes weren't the right size or length. After the first cup was a little messed up and I couldn't see any way to make that one better, I started out on my second cup. I'd looked around at other people's cups, and came up with an idea. That's why the second cup turned out looking so much better than the first. My problems with this project were:
- making everything balance
- cutting the right sizes and lengths
- cutting smoothly
Author
Write something about yourself. No need to be fancy, just an overview.
Archives
June 2015
April 2015
February 2015
 RSS Feed
